sana wrote:What's the deal with ambient occlusion, anyway? Isn't it just the same if you overlay the AO map onto your diffuse?
Well, I tend to use a scene AO as it has a filter on it (no need to set 320 samples to get a smooth effect on big textures) and it is much faster... The AO map I use for Dirt. Making corners dirty. With a variance map (noise) it looks better this way. and with scene AO I have bounces, so light is reflective. I just bake a Diffuse Map with scene AO.
What is AO? It's a light'n shadow based on the atmosphere lighting. More less. So, it's a light which is emited from everywhere. It is also the reflection of light from surfaces, sometimes emissive materials... Stuff like that. A simple example is here:
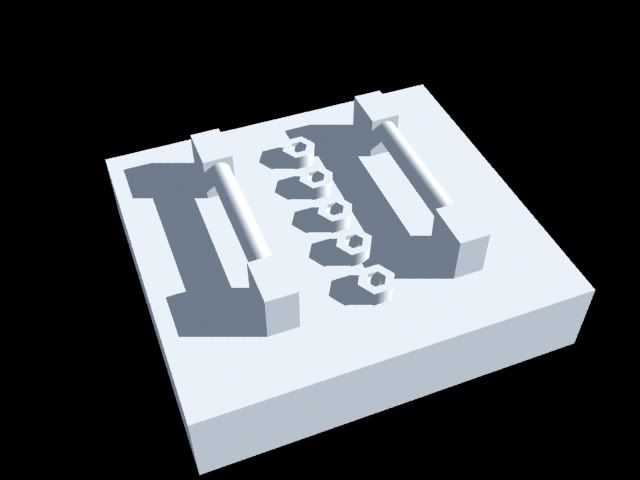
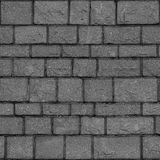
A scene with no AO. Simple ambient light and a second directional light with simple raytraced shadows. Looks kind of... Lame.
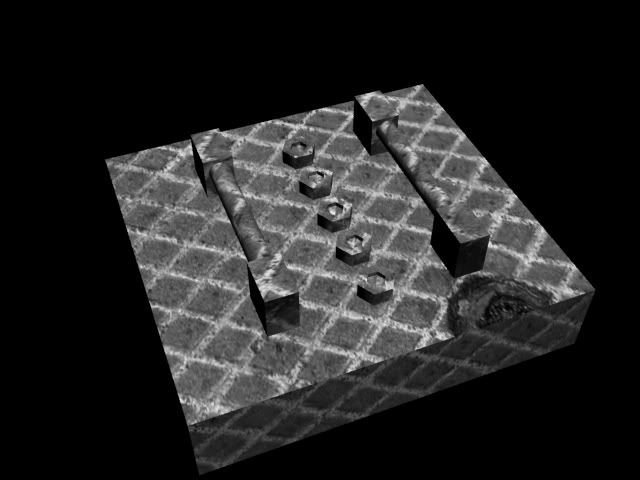
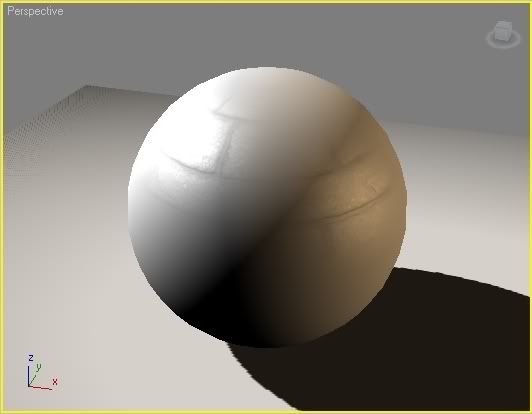
With Amabient Occlusion...

...it looks different. You can see that this map simulates (fakes really) shadows from the atmosphere lighting.
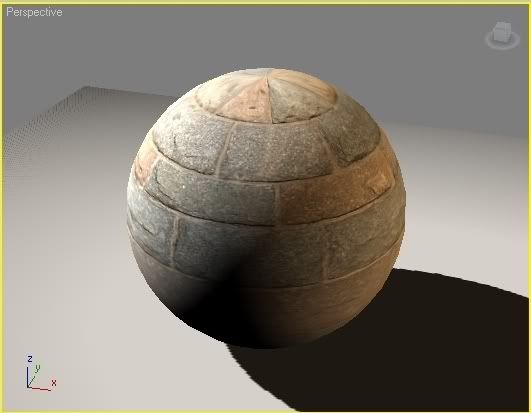
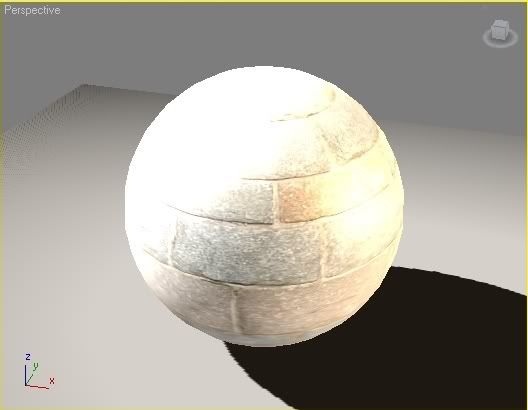
I use AO maps for dirt:
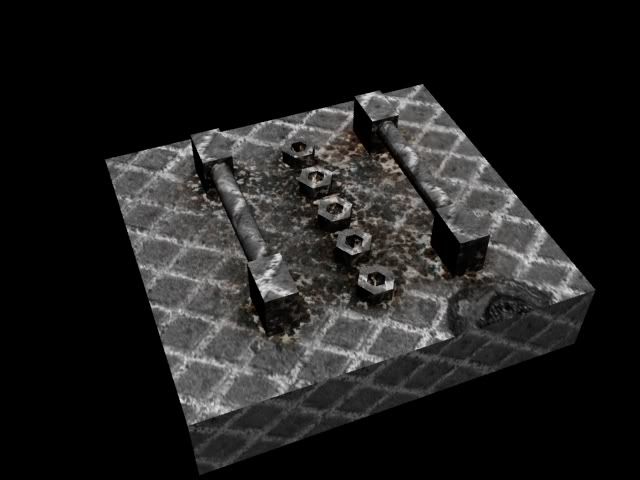
I don't need to comment on that I guess. It's visible. For white I set bright texture, for black I set dark texture and I play with contrast and color (2 minutes scene so sorry for lame effect :<)
Let's do the materials then.
Diffuse is the basic color of a material. Basically it's no lighting color map. I bake it with AO... But that's me.
Specular map (in Max and Maya there's bunch of them) calculates the gloss, light reflection of a material. So, if a material is hiny, the white areas on the textures will reflect the light making it ovebrighten, dark will be matte.
- That's a bump map really, but I use it for Specs here also XD
Now, self Illumination map. It's how the material is glowing. Setting a diffuse map as a Illum map made the scene look like this:
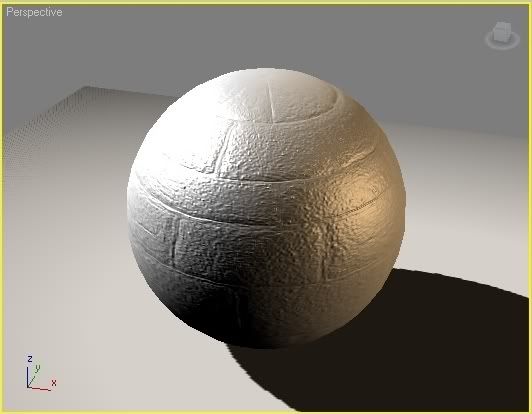
Now bump map. It fakes the... Hm, 'bumps' of a material. If you're creating a rough material bump is the thing you're looking for. It makes the detail (now ppl tend to use Normal Maps instead which in my opinion is a crime. Normal maps are for something totally different) It works like this: White pixels of a map simulates the parts of a surface that are sticking out, darker onces are holes.
Opacity / Transparency map is a map which makes the material see through. Black is totally see through, white is solid... No images here as it is quite simple.
Normal Maps. My favourite. They look quite scary really at first...
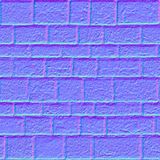
But when you get to know what the hell is that fucker supposed to do, it becomes easy. Let's look at the color channels of the Normal Map:
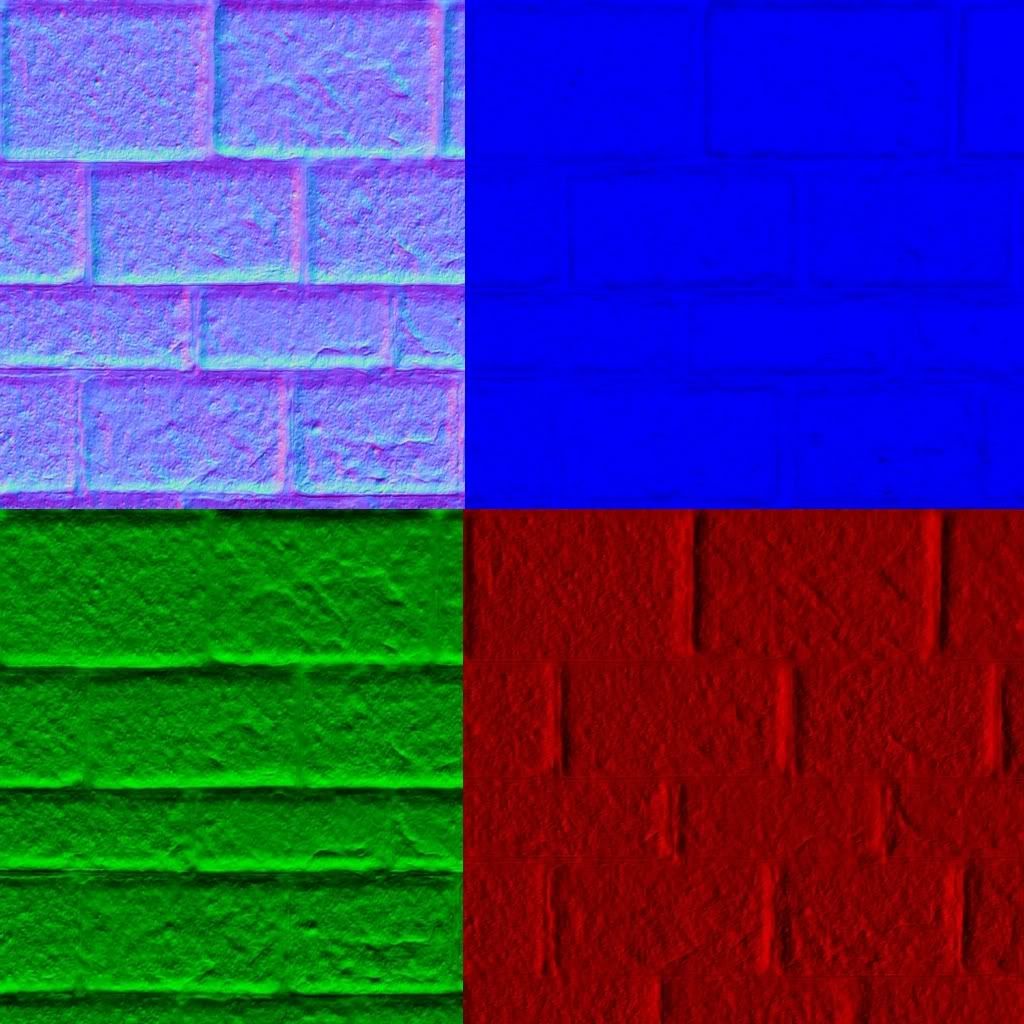
The Blue channel tells the GPU which pixels are planar to the camera. Green channels checks which pixels are rotated on the Y axis, Red is the X axis. This way it can simulate a 3 dimensional effect on a planar polygon. It is commonly used as a bump map, which is quite stupid, as it's capabilities are enormous.
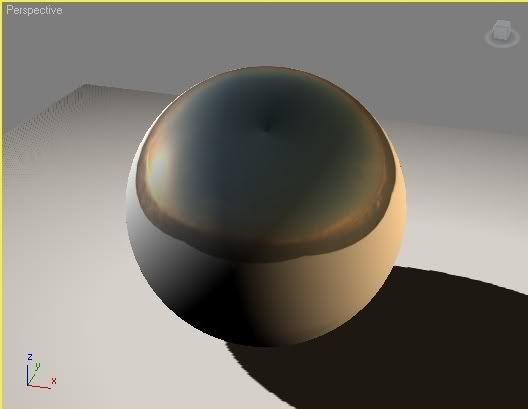
Reflection map...
And a Displace Map. Displace Map can be used to achieve a Tesselation effect. It works like a bump map with this difference that it doesn't affect pixels of a map but VERTICLES... So it displaces the verticles along a surfaces normal (normal is the way in which a face is rotated to... or something). Anyways, with a map like this:
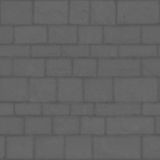
...you can do something like this:
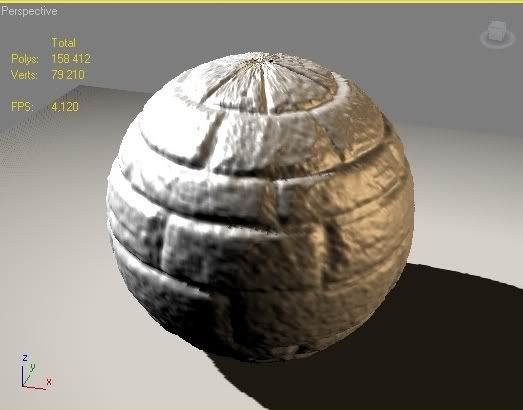
But notice the polycount. 160k XD
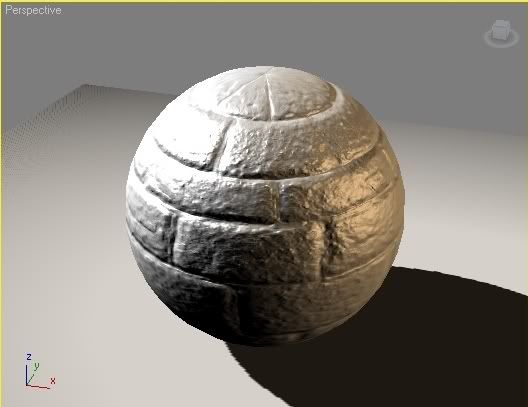
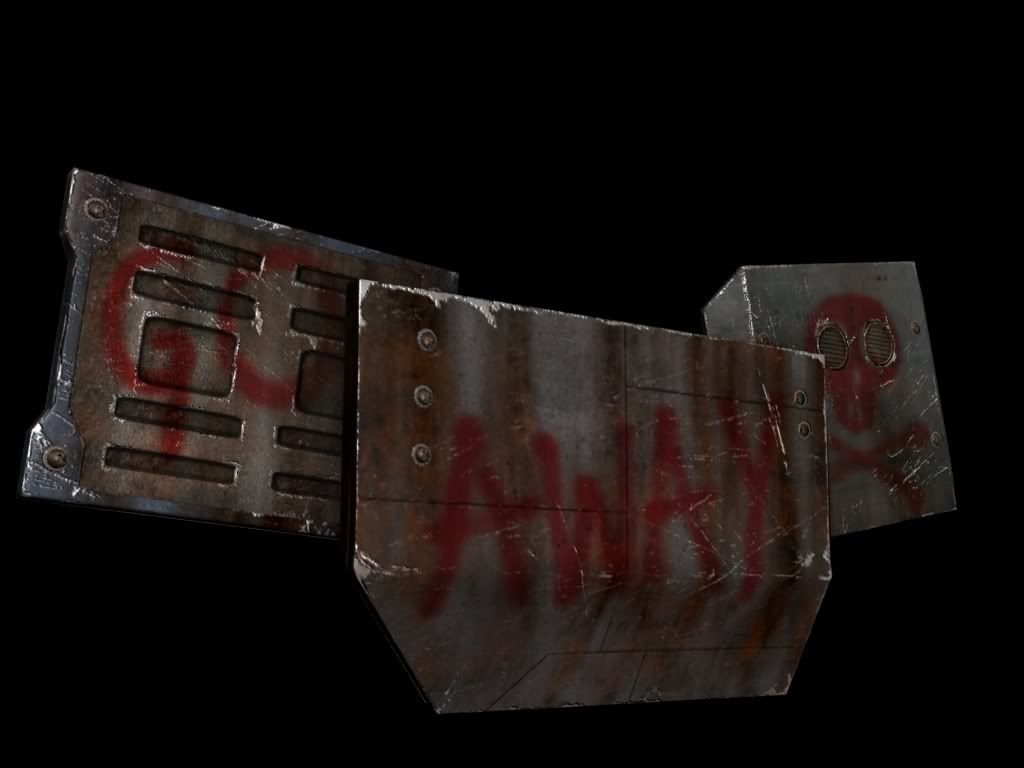
Now, let's combine all textures except Reflection and Displace.
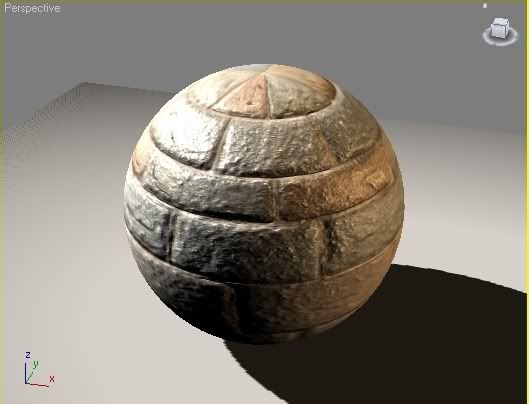
Tada!
Now, there's something called Parallax Mapping. But this one is much more complicated. It uses a Normal Map combined with Displace Map to displace pixels of a texture depending on the camera rotation to a face normal. That's a hard one but when well designed it can create a really, really neat effect. Crisis used it for terrain pebbles.
Details are here:
http://seithcg.com/wordpress/?page_id=239OH!!!!
diamond wrote:@qtit:
Can't figure why you are using this approach (bottom right UV island) instead of more usual and straight-forward (upper left UV island).
Two reasons. Sometimes I don't want to break the seamless of a map for a shader creation. When I create shaders like for scratches or dirt in Photoshop the upper one makes it difficult to preserve the seamlessles (?) of the shader texture.
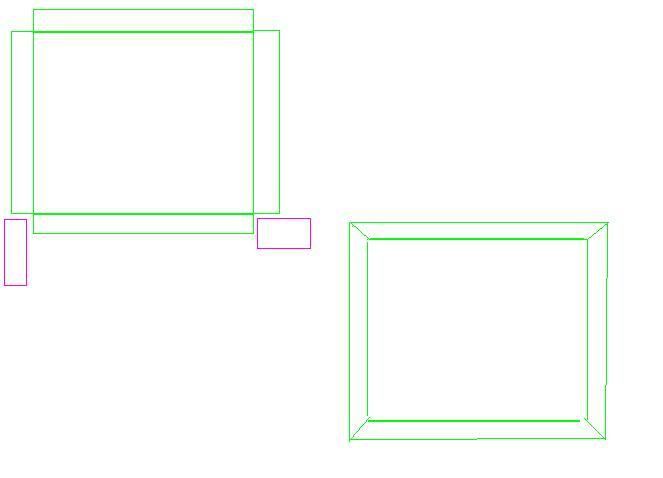
Lets say I'm making a scratch shader.
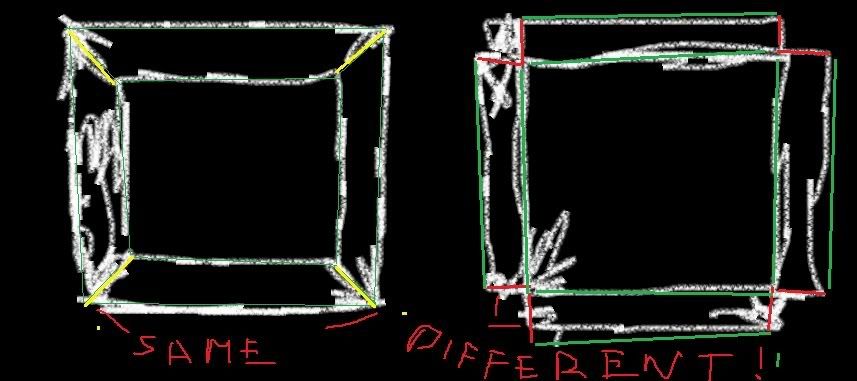
So, white is my shader. Green is the UV map of a box. On the left it is seamless so when I make a shader it fits perfectly to the box. No visible texture cuts. On the right tho, the red edges of a map are... well, different. Then, in a game, scene, Texture Cuts are visible.
Second is... I'm used to do it that way. I was making textures at time when Baked Texture Padding was, well, fucked in Max. Then there were black stripes visible where the UV ended on a map... Long story.
 White Tusk
 Administrator
 Skaarj Berserker


 >:E
>:E


 Skaarj Elder